Wednesday, September 1, 2010

Beginner Drawing Lessons, Part III

Yay! Welcome to the third and final lesson in this three-part series: Color


Where would we be without color? The deep blue sea, scarlet poppies, and blazing sunsets would all be pretty nondescript without the hues that make them unforgettable.

There is so much to learn about color, but I'm going to keep it fairly simple here. While it is true that a strong foundation of color and color relationships will take an artist's work to the next level, for the purposes of this simple lesson, we'll skip the color wheel, so as not to bore the kids to death, and jump right to actually using color.


To start, let's go back to "seeing with our eyes and not our brains" (I know, I keep bringing this up, but it is one of the best things you can keep in mind when rendering objects). Just like the tomatoes of Lesson I are not perfectly spherical in shape, nor are they just red. On a single tomato we can spy red, orange, yellow, and deep crimson, and even a hue that seemed somewhat blue, not counting the greens of the stem and browns of the blemishes. It is precisely this myriad of color that makes an object interesting when rendered.

Take a closer look. See the variations. Encourage your kids to believe that they really are seeing colors that don't necessarily "make sense," like blue on a tomato.There are many reasons for seeing that blue, like a reflection from a nearby object, or the combination of a particular shade of red, mixed with the low-value tones of a shadow.


Even if your subject is a factory-made piece of purple plastic that features a consistent shade, that purple is going to appear slightly different, depending on how the light and shadows are effecting it. So, you see, nothing should ever be rendered as just one color, even if it is...just one color.


Color Exercise:
For this lesson, you will not necessarily need to set up a still life. In fact, drawing from nature would serve this lesson best, as objects that occur in nature tend to have many variations in color.
  • Take a walk with your kids around the yard or inside your home. Point to objects and have them say the first color that comes to mind, like "green!" for grass.
  • Next, have them take a closer look. If they can, have them touch the object, and look at it from all angles, noticing color differences. For example, a leaf might be bright green on the top, but a muted yellow-green on the underside. See if they can recognize more colors than the original one-word answer.
  •  Once your kids start drawing their objects, encourage them to use as many different colors as possible. A peach could be drawn using orange, red, brown, and yellow, as opposed to coloring it light orange in one place, dark orange where the shadow is.
  • Once they are comfortable with using so many colors, ask them to draw an object using a completely different set of colors. They could take a small collection of blues and oranges and render a leaf with shadows and highlights using the wacky colors. The end result will be an eye-popping composition. 
  • For and advanced challenge, try drawing a set of objects using only blocks and patches of color—no lines—like we did with value in Lesson II.
If you're you're interested in exploring color a little further, Marmalade Moon just posted a great list of color inspiration links.

I hope you and your kids enjoyed this Beginner Drawing series. I plan to expand upon these lessons in the future, and will keep you posted on that front, as details emerge.

    Monday, August 16, 2010

    Beginner Drawing Lessons, Part II

    Welcome to the second lesson of this three-part series: Value

    In art, value refers to the darkness and lightness of color or tone. The variations in light and dark within a drawing are what will make it come to life. Have you ever noticed how an unexpected highlight on an object makes it really pop? Or have you felt the depths of a darkly-rendered shadow? Yep, it's all about value. From the highest value—white, to the lowest value—black, and everything in between—this is what creates volume and sense of space and depth.

    In our still life of the group of tomatoes, we first took note of where the different light sources were coming from. Then we noticed where the brightest and darkest parts of our scene were. After those easier to identify values were determined, we discussed the more subtle shades, looking at how the lighter parts of the tomatoes fade gradually into different shades of darkness. This lesson is meant to be practiced in black and white, using pencil/charcoal on paper, so kids won't confuse light and dark color with light and dark value.

    There are different ways to render value. Some artists use cross hatching, others use sketchy lines or scribbles, others blend their pencil/charcoal to create gradual changes.

    A good way to practice different values of light is to make a value chart. Simply draw a rectangle about 6" long and, starting with white, gradually sketch darker and darker values across until you have the darkest possible color your pencil can make. Show them how they can create darker colors by bearing down harder on the paper, as well as by using more lines closer together.

    Value Exercise:
    • Start by having your kids make a value chart. This will help them recognize the subtleties in all the shades between white and black.
    • Have them try a few different ways of shading, and let them chose the method they prefer.
    • Using a simple still life like the one in the previous lesson, ask your kids to tell you where the light is coming from how it is shining on the objects. It may help to set up the still life next to a window or a lamp, so that there are strong lights and darks for them to identify. You could even rig up a flashlight to make extreme shadows.
    • Next, ask them to point to the brightest and darkest parts of the objects. Once those are established, have them take note of all the different shades in between.
    • When they begin to draw, encourage them to use their value chart as a reference. Suggest that they use the white of the paper as the brightest spot, and fill in the lower values from there.
    • If the kids are into it, ask them to try drawing one without using any lines at all. See if they can render objects just by creating various values.
    Have fun! See you back here soon with the last lesson: color.

    Sunday, August 8, 2010

    Beginner Drawing Lessons, a Three-Part Series: Part I

    NOTE: My apologies to those who subscribe in a reader. I accidentally hit "publish" in the middle of my first draft of this post. I deleted it immediately , but I think some of you still got the wonky post. Oops!

    Welcome to my Beginner Drawing Lessons, written with kids in mind, but perfect for adults, too. This series is the result of many sketching sessions with my girls, during which I realized there are a few recurring concepts that I am always reminding them of. For these lessons, I have reduced lots of information into three basic ideas that can be utilized when drawing:
    • Line
    • Value
    • Color
    There are the shapes and how they relate to each other (line), there is light and shadow (value), and there is color, with its many variations.
    Those three things are basic concepts that, once understood, will help you or your child have a better grasp of your subject matter. This information can also be applied to painting, sculpting, digital art, and so much more. Each of the three lessons include an exercise at the end of it, so you can practice your new skill. I would recommend this series for children 6 and up.

    The first lesson of this three-part series is Line.

    Line is the shape of objects, the actual outline, and how shapes relate to each other. For example, in our still life of a group of tomatoes, we noticed how each tomato looks different—some had more lumps, some were more round, some oval in shape. Then we looked at how the tomatoes were arranged. We saw how some were in front of others, and that some were partially hidden. Look at where these objects overlap, as well as the negative space. Sometimes, when an object proves tricky to draw, observing the shape of the space between the objects can be helpful.
    Encourage the kids to look at the true shape of things, meaning not what their brain says they should see but, rather, what they are actually seeing. Our minds register "tomato" as bulbous and round in shape, but their shapes can be quite varied. Point out irregularities in objects, and encourage your kids to include those. We (and especially kids) tend to want to draw the "idea" of a certain object, rather than what we are really seeing. A college art teacher of mine used to always say, "draw with your eyes, not with your brain."

    Line exercise: Set up a still life made with a few simple shapes. Fruit, balls, bowls, and vases (skip the flowers this time) are good choices for this first exercise. Avoid objects that have a lot of detail on them, as the kids will be tempted to render all that detail first thing.
    • See if you can get your kids to just observe the still life for a few minutes before starting
    • Talk about the outlines, the shape of the negative space, the places where objects overlap each other, and how that effects their shapes
    • Ask them to point out irregularities in the shapes
    • have them trace the objects with their finger
    • When they begin to draw, remind them to draw what they see, not what their brain tells them a shape should look like
    Have fun! See you back here soon with the next lesson: value.

    Monday, August 2, 2010

    Italian Ice For All

    I think we can officially can this summer the Summer of Italian Ice. We're obsessed, but the frequent trips to the store to get our hands on some Richie's Italian Ice is getting pricey and junky. So we figured out how to make our own, and haven't stopped making it yet.

    Watermelon: cut up half of a watermelon and put into blender with 2 tbsp of sugar. Blend until fruit is liquid and sugar is dissolved. Add one tray of ice cubes and blend.

    Blueberry: Combine 3 cups of berries and 2 tbsp of sugar. Blend until fruit is liquid and sugar is dissolved. Add one tray of ice cubes and blend.

    Peach: Combine the meat of 6-8 peaches and 2 tbsp of honey (the honey compliments the peaches nicely). Blend until fruit is liquid. Add one tray of ice cubes and blend.

    Coffee: Make coffee to your liking. Be sure to sweeten while the coffee is still warm. The finished product would be delish with a bit of whipped cream.

    For all Italian Ice flavors, pour mixture into shallow tray and put in freezer. Every half hour or so scrape the surface with a fork. Do this until the entire mixture is frozen and snowy.

    I forgot about the coffee in the freezer, so it got no fork scrapings. You can see it is much more crystallized than the others.

    We have raspberry and lemon on the list for this week. What flavors can you think of? We'd love some new flavor suggestions!

    Sunday, July 25, 2010

    Seeing the Forest...

    Sometimes, I just can't see the forest for the trees.

    See, one of my most popular items is the Initial Charm Necklace. Simple and straight forward, a single initial on a small disc. But, I have a confession: I have always felt a little luke-warm about this piece, as it is not one of my most original designs. In fact I have seen similar necklaces before, and this was my version of a classic, originally made by request for my sister-in-law.

    Fast forward to a few weeks ago when a customer requested an initial charm necklace with a twist. She had seen some of my wire writing pieces, and wanted her kids' initials done that same way. Here's the part where I whacked my forehead with the heel of my palm. doh!

    The idea was right in front of me all along—my best selling necklace, only made with a touch that was mine all mine—the wire writing. (Of course, ALL credit here goes to this particular customer, who made me see the obvious. Thanks, Laurie!)

    Did I just recently say that custom orders made me nervous? I might be reconsidering that sentiment, as I begin to recognize all the ways in which clients contribute to my body of work.

    Sunday, July 18, 2010

    Why I Won't Look At The Calendar

    I'm still here, and all is well. Just haven't been here.
    The momentum of summer has taken over, and I find myself in places far away from the computer. It's refreshing.
    In my absence:

    We found a rainbow

    I made a whole lotta circles

    The girls set up an outdoor living room, complete with a couch (see it at the top of the picture?)

    We took an evening trip to the beach (this was taken at 7pm, and it was still 95 degrees)

    And I've enjoyed some lounging around

    Lately, I have an ever-increasing sense of dread, as these days tick by and I face the reality of my baby entering first grade--full day school for the first time. Come September, both my girls will be spending their days away from home, leaving this mama to fend for herself. Now, I have plans--big ones--to make good use of that time and grow my business, but this change is just so symbolic. This is the way it will be for the rest of their childhood. I know that's life, and that I'm being dramatic, but it's what I'm feeling at the moment.

    What's a mother to do, but make the best of the time we have right now? To linger at the beach, play long card tournaments, and let them stay up late to watch Wipe Out, so we can laugh together--these are the current priorities. And when school comes around again, I'll kiss both girls goodbye with a pat on the bum, and rush home to make hay while the sun shines, reveling in this new phase of parenthood.

    Until then , you can find me here a little less than usual. I'll be doing everything under the sun with my girls (except looking at the calendar).

    Friday, July 9, 2010

    20 Must-Eat Summer Recipes

    Aimee, of Artsyville, recently wrote about the weekly creative prompt called weekword. This week's word is FLAVOR, so I thought now is the perfect time for me to jump in.

    The flavors of summer can't be beat and, luckily, many of them can be prepared with little or no stove usage.


    Celebrate the Season:

    Pesto
    (FuoriBorgo)
    A Campfire Breakfast (Simple Bites)
    Strawberry Jam (Mandy Gerth)
    No Need For a Stove salads ( Indie Fixx)

    Veggies:
    The Perfect Summer Salad (The Baker's Daughter)
    Chinese Cabbage, Fennel, and Daylily Salad (So Wabi Sabi)
    Green Bean and Cherry Tomato Salad (Smitten Kitchen)

    On The Grill:
    Spicy Mango-Pineapple Hot Dogs (Coconut & Lime)
    Grilled Pizza There's nothing like it! (Serious Eats)
    Strawberry Salsa & Burgers (Everybody Likes Sandwiches)

    Refreshing Sips:
    Raspberry Rosemary Cooler (Maya Made)
    Strawberry Lemon Mint Daiquiris (A Foothill Home Companion)
    Green Smoothie Cocktails (Shivaya Naturals)
    The Porch Swing (Smitten Kitchen)

    Sweets and Treats:
    Variety of Tarts (Angry Chicken)
    Chocolate Chip Cookie Dough Balls (Joy the Baker)
    50 Homemade Popsicle Recipes Includes great popsicle-making tips (Growing a Green Family)
    Ice Cream Sandwich Pops (Living Locurto)

    Misc Summer Eats:
    Giant Black Bean Salad (101 Cookbooks via Soulemama)
    Lots of Noodles Each of these recipes can be eaten cold—perfect! (Which Name?)


    Oh! And I can't write a food post without mentioning my new fav cook e-book:
    Healthy Snacks To Go. Highly recommended!

    Monday, July 5, 2010

    Bringing the Oustide In

    Come out for a tour of the girls' bedroom,

    where butterflies alight,

    and doves fly.

    A place where roses unfurl no matter the season,

    daffodils bloom all year,

    and the sun shines every day.

    It's a dreamy place to sleep and play

    Tuesday, June 29, 2010

    Out on the Line

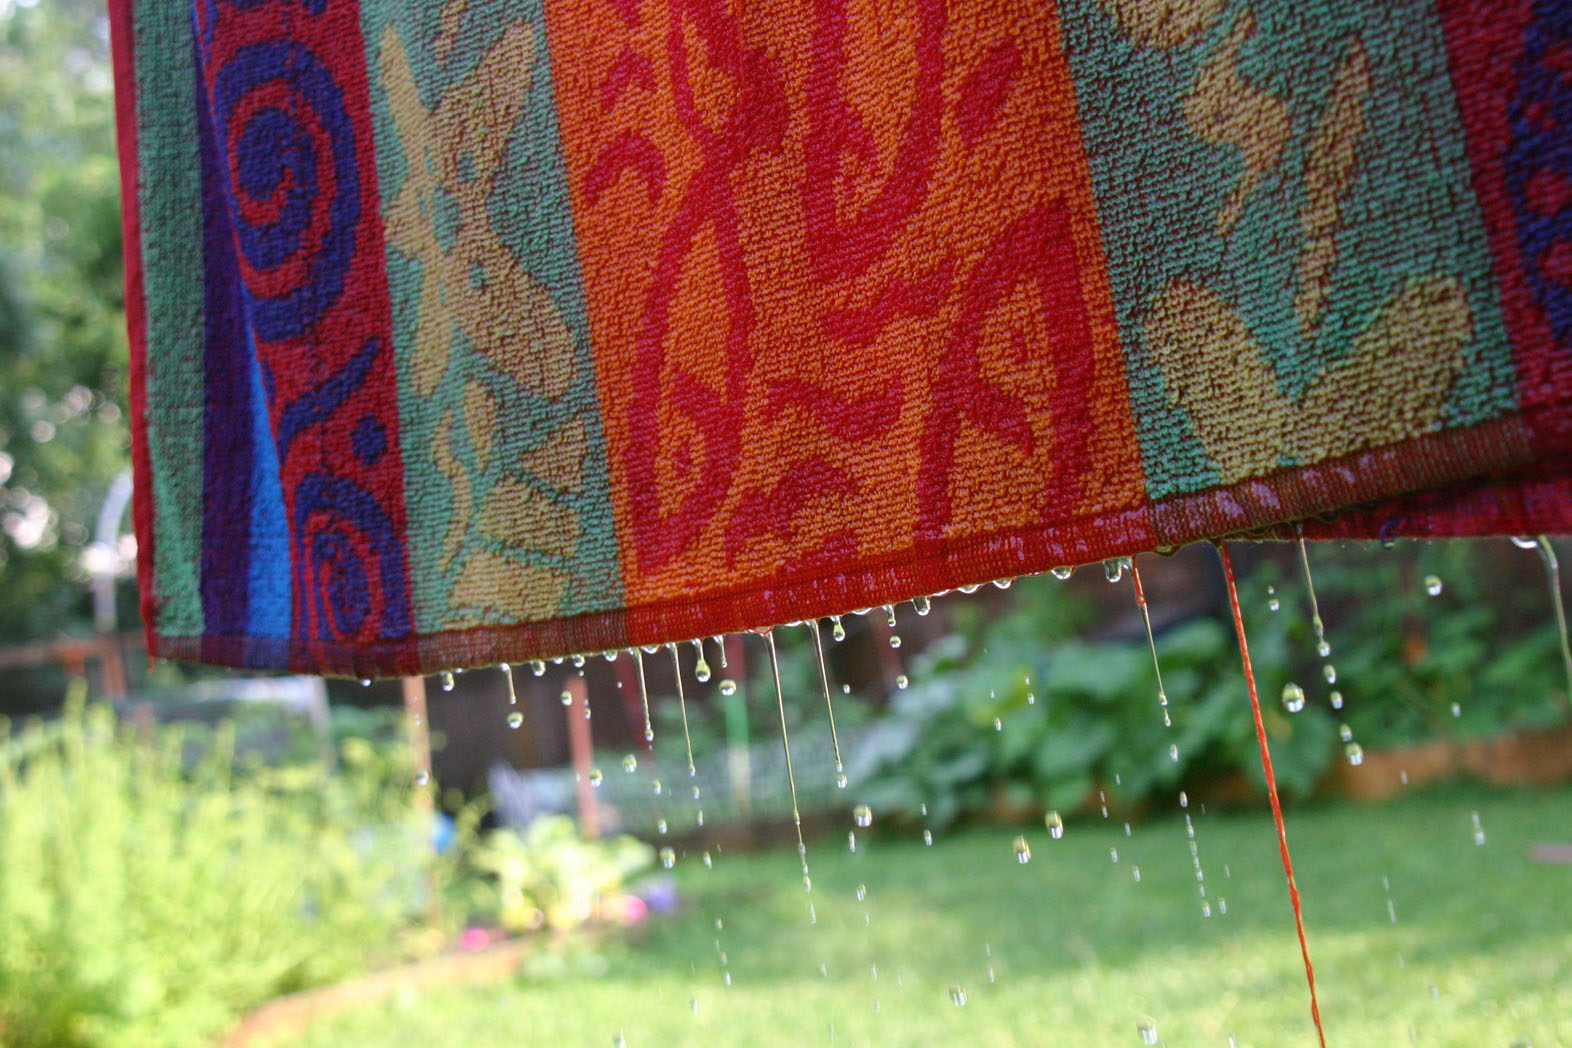
    Hanging laundry on the line has been described in so many ways—a meditation, a connection, and way to save energy, a money saver, a time-tested necessity, and a tradition. But sometimes, sometimes, it's more than that, and I don't mean in a good way. Ladies and gentlemen (but probably really only ladies), I bring you the dark side of the laundry line.

    like jeans-as-bird-toilet...

    ...and just dried laundry, left out for a bit longer, only to be soaked by those afternoon storms that pop up so often these days.

    The good thing is the sun is out again before the rain has even stopped, and the drying begins again.

    See more hanging laundry, from around the world and all walks of life, over at Wash Wednesday.

    Friday, June 25, 2010

    What To Do

    We're only a few days into summer vacation, and I have found myself scouring my favorite blogs and sites, looking for crafts to do with my girls a few times already. Turns out, there is a ridiculous amount of brilliant ideas and resources out there—tutorials, recipes, suggestions, and even more lists of things to do. Jackpot!

    I've compiled a list of my favorites for you and me :

    Paint a fresco (FuoriBorgo)

    Make your own bug catcher (Shivaya Naturals)

    Craft up some clay suns (Twig and Toadstool)

    Make some Custom Drawn kid stationary (Just Something I Made)

    Have your kids make their own ink Blob t-shirts (Vintage Chica)

    Make mobiles from found drift wood and beads (Wise Craft)

    Try some corn syrup painting (The Crafty Crow)

    Make a moss terrarium (Poppytalk)

    Learn block printing: tutorials Part I & Part II ( from me!)

    fold up some Origami paper wallets (Future Craft Collective)

    Squeeze some fresh orange juice and make sun eggs (GardenMama)

    And more lists to pour over!

    The Long Thread's round up of 50 Summer Crafts for Kids (check out the Stone Dolls from MayaMade)

    list of great games to play with kids over at Mommy Coddle

    List of outdoor summer activities at 5 Orange potatoes

    list of Artful Books for Children from Quince and Quire

    and this list of resources for nature-based summer learning, from The Snail's Trail

    Sunday, June 20, 2010

    Labor of Love: Custom Jewelry

    There's something about making custom pieces that both humbles and terrifies me. I mean, what could be more flattering than someone asking you to make their vision come to fruition? They must have liked the style of my jewelry designs, right? And I can only assume that they must have confidence in my metalsmithing techniques—my ability to fabricate what they are dreaming of, right?

    So why, then, do I have this whispering voice of doubt in the back of my head that says, "Oh my, somebody has entrusted me with making their vision come to fruition?" Why am I not able to breathe easy until I get word that the piece was received and is absolutely adored?

    I don't know why. I guess I worry that the finished piece won't live up to their expectations, and how my reputation as a jeweler is on the line. But I'm going to let you in on a secret: even through all that, I love doing custom work. I love the departure from my usual designs, I love working with the client, making design decisions, and turning ideas into realities. I love knowing that the recipient is going to wear a piece that has personal meaning, one that was made deliberately, with care, with the sentiment behind the piece in mind.

    This spring, I had the opportunity to fabricate a few ideas into wearable pieces.

    Emily, from Mousy Brown's House, asked me to make the necklace she had been dreaming up. She had a long list of elements she wanted to include, and was creative enough to be able to translate all her wishes into a design. It had to reflect her personality, and remind her of the good things in life. She had a clear vision of what she wanted polished, and which parts she wanted roughed up. And it had to have a little silver mouse. The photo above is the set of charms that hung from the silver ring, making the focal point of the pendant. That mouse? I didn't get a good picture of it but you can view a few good shots of it over at her blog, where she wrote about it.

    The length was another unique element of the design. She wanted it to be long, so she could "wear it with pride above her clothes, or tuck in and enjoy secretly." Well, long she got, and I think she is on to something here. That length makes quite a statement.

    I also had the pleasure of creating an anniversary piece for a couple. The husband came to me with a request for a piece that would symbolize the fact that he and his wife had now been together for more than half their lives. He, too, had a clear vision—a simple "clock" with 55% of it in polished silver, the rest oxidized black. The contrast of this uncomplicated design is striking, and represents much meaning for this husband and wife.

    When it comes to custom work, I've learned to focus on these things: listening, asking, and reading between the lines. I include the client in as much, or as little, of the design process as they want, and I stay in touch and provide updates. Given all of this, you'd think I'd be a little more confident about how the pieces will be received. Well I'm not, but I'm starting to realize that all that fussing is exactly what makes custom pieces such a unique experience—a labor of love.

    Friday, June 18, 2010

    This Moment

    Hoppin' on board the Soule Mama train this week to share this moment.

    {this moment} - "A Friday ritual. A single photo - no words - capturing a moment from the week. A simple, special, extraordinary moment. A moment I want to pause, savor and remember."

    Tuesday, June 15, 2010

    Progress and Growth

    Just like that, nearly a week has gone by since I have last posted. It seems like the days slip through my hands, weeks are cranked out steadily, and my girls grow faster each year.

    Since this blog has become somewhat of a journal, tracking our progress and growth, I though I'd catalog a few of our most recent examples:

    Progress: on a little surprise for soon-to-be-born babe

    Growth: remember "Woolly Bear?" He emerged as this beautiful moth

    Progress: on a bench, needed for the dining room table

    Growth: chicks losing the fluff, getting feathers on their heads

    Progress: the last-day-of-school countdown

    Growth: last year's sandals

    Where have you been making progress? How have you been measuring growth?

    Wednesday, June 9, 2010

    A Collaboration for Little Miss Eight

    She loved this ring I sold. It's was a big silver dome with green beads sticking out of the top of it. I would have given it to her, but it was so big for her hand I knew she wouldn't really be able to wear it. Clearly, she was going to need her own version of that ring for her eighth birthday. It would be proportioned for her hand and bear little pink crystal beads.

    Of course, a ring like that would need to have a matching necklace. That necklace would have to incorporate all of her favorite things, like a horse, a cat, and Yoda, and those same pink beads.

    The set of mama-made jewels was going to need a daddy-made birthday box, naturally.

    It would be made in the USA with love,

    and it would have a special place for the ring and for the necklace. The two compartments would form the number 8.

    Little Miss Eight would use it to store her new bling, as well as the $8 she got from her grandparents. (She's that much closer to saving up for the horse she plans to buy someday. I hope she doesn't hock these jewels for one.)

    Saturday, June 5, 2010

    Confessions of a (Former) Consumerholic

    Hi. My name is Amy, and I am a consumerholic.

    Or, I was.


    A handful of years back, I suddenly found myself with babies and a newly purchased home. If ever there was a time to purchase things, I thought this was it.

    I bought items that the babies might like, and things I might use for the babies. I shopped for a mind-boggling roster of tot gear, and had a hard time resisting those adorable tiny clothes. Then there was a home to fill. I paid hard-earned money for things like outdoorsy-scented candles, newfangled cleaning products, and the latest in clocks.


    Well, it wasn't long before my house reached maximum capacity. By then, the majority of baby gear had proved superfluous, and the tot stuff was collecting dust in the corner. The candles lost their scent, the cleaning gadgets were useless, and the clock broke long before I expected it would.


    Standing in my living room one day, planning my route across the toy-strewn rug, I had a vision. I saw my home in all its de-cluttered glory. I saw my girls playing with quality handmade toys that wouldn't soon be recalled. I imagined a cozy nest decorated with items made by fellow artists, each piece holding its own story. I fantasized about all-natural cleaning products, and cooked up clever ways to re purpose lackluster items.

    Without realizing it, I was formulating a new family plan. It would be based on quality, simplification, and time spent together.

    The simplifying scheme started with charity donations—truckloads of clothing, unwanted toys, and household items went out the door. I read voraciously about simple living, conscious consumption, creative parenting, and commercialism. I re prioritized how we spent our time, and shifted from days full of running errands to staying home and interacting in more meaningful ways. I bought large quantities of basic grocery store ingredients and learned all the amazing ways they can be used in a household. I came to realize that my spending habits are a reflection of the kind of world I want to live in.


    During this time, I hatched the idea to sell my works in metal, as a way to bring quality handmade pieces to the market. I thought, maybe if somebody bought my pieces they’d be less likely to buy cheap costume jewelry made in factories on the other side of the world.

    This new way of living is very much a work in progress. I have spent the past six years steering my family towards a life of simple abundance—of shedding the excess—but we often veer off course. The toy box has been replenished with cheap imported junk (this is our biggest challenge, as most of the girls' toys are gifts from others, for which we are grateful), and Mount Stuffed Animal remains the last frontier. I have to admit we adults in the household have some indulgences of our own, but we try to keep it in check. I have gotten more organized, and we have learned to patiently wait until we’ve saved enough money before making purchases—this alone has been the most effective way to keep the amount of things acquired to a minimum. We have also found a better balance between family time and the number of activities we participate in. Generally speaking, our down shift has been a success, but we are presented with challenges daily.

    As long as I can navigate my way across the living room without too many obstacles, I know we're doing OK.

    Wednesday, June 2, 2010

    Colorful Necklaces & Some News

    Sometimes, when I look at my body of work, I am painfully aware of the lack of color. This perplexes me, because my world revolves around color. My home is painted and decorated in a rainbow of shades, my shoes span the spectrum, and I gravitate towards pretty much anything that is a beautiful hue. My current color of choice is this one:

    Somewhere between the time I started making jewelry and now, my pieces have taken on a very, uh, metallic feel. I know that's a bit obvious, but I am feeling the need for a departure (if only temporary) from my usual industrial-meets-organic"colored" jewelry. All those grays and browns of winter and early spring have gotten the best of me, so I'm introducing a little color into my line just in time for summer.

    I'm on the hunt, prowling the web for gorgeous stones to frame in silver and oh, is it fun. Wouldn't this make an amazing piece?

    In other news, the summer edition of the online magazine Rhythm of the Home was just published. This one is bursting with interesting articles, cool crafts, and all things summer. I contributed a tutorial—check it out here.

    (Colorful necklaces now listed in the shop)