Last month, when I posted the
raised garden bed tutorial, I promised a follow-up tutorial on making soil. It's a bit delayed, I know, but it is definitely not too late (especially for those of us in northern parts).
If you are going through the trouble of building your own raised bed, you're going to want to fill it will the best stuff you can. Hauling a few bags of garden soil from the hardware store can get expensive and is not necessary. I promise you there are many ways to source materials that will form the best growing matter for your plants. Read on!
I have to apologize in advance, as photos of soil, in various stages of decomposition, are not exactly what one might consider eye candy... Step One:
 Turn the top soil over. You want to flip under whatever is currently growing
in the designated spot, so that it is completely buried. A pitchfork works well for this.
 Step 2:
 Add any and all organic matter you have into the bed. Composted manure, straw or hay, sphagnum moss, regular ol' dirt, and partially composted clippings and leaves are all great to throw in the mix. Use a metal landscaping rake or hoe to evenly distribute and combine it all.

The best thing I had was the top layer of dirt from the chicken run. This was completely composted pine shavings, food scraps, straw, and chicken manure, and it equaled black gold.

If you happen to have some chickens hanging around, make them earn their keep. They will scratch and dig (and poop!) in that heavenly pile, working it into a rich mixture.
 Step 3:
 Wait. And flip, mix, and stir the soon-to-be-soil once a week. By planting time, it will be a bed full of organic, nutrient-rich, free
(!) earth.
Here are a few suggestions for obtaining free organic material to help fill your bed:•Find a horse stable. Many of them offer manure for free, so long as you do the shoveling
•Ask a neighbor if you can dig out some of their compost. (I have neighbors who compost their yard waste but aren't gardeners, so they have little use for all that good stuff.)
•Check
Craigslist or
Freecycle to see if anyone is offering compost or manure
•Check to see if your town/municipality has a central dumping site for yard waste, and see if they offer compost to the public
•Dig out the chicken coop/sheep pen
•Use this as an opportunity to knock down any raised or uneven portions of your yard, add that to the bed
 This is our "yoga kitty," who sleeps on his back, with his head and shoulders twisted, arms hovering in the air. It's bizarre. A certain six year old couldn't resist putting her head between his paws and pretending she is being snuggled with, but he is sound asleep.
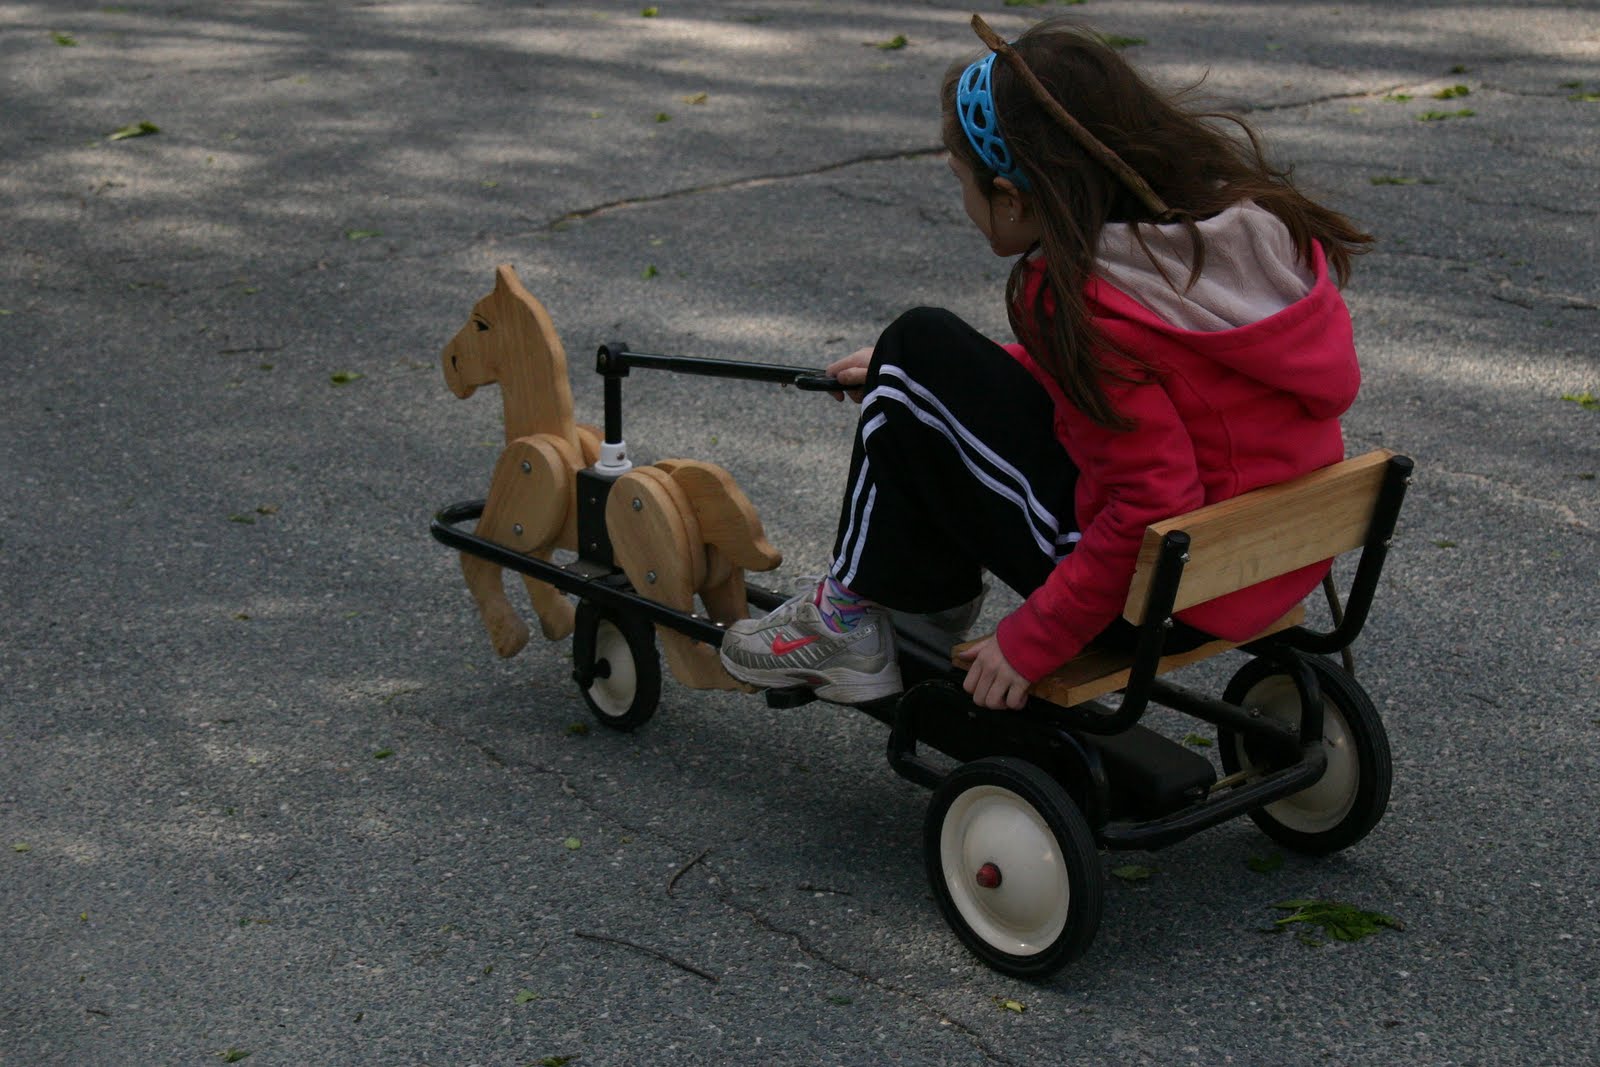 Who doesn't love a chariot ride?
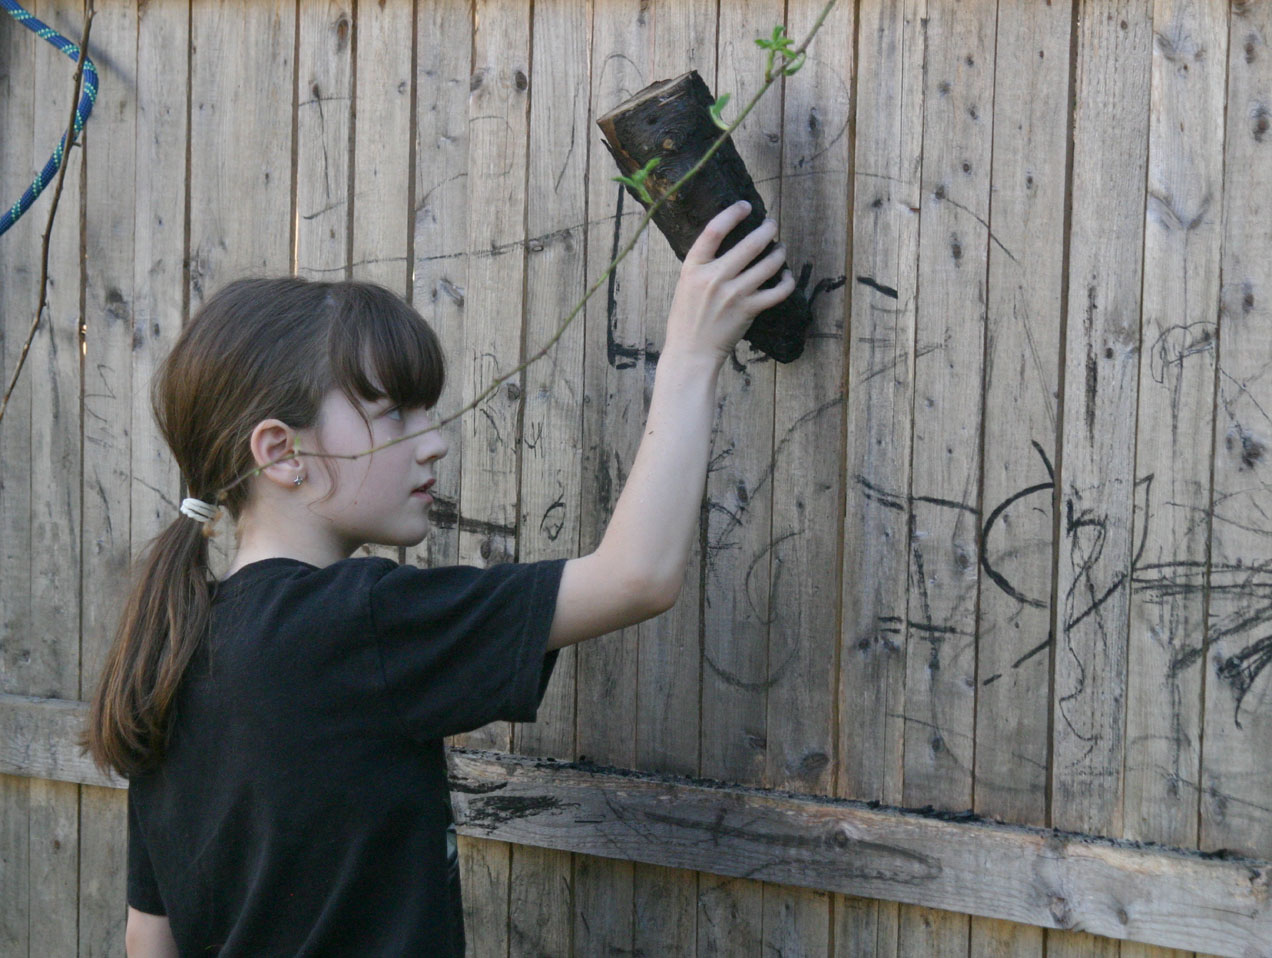
 I got all paparazzi the other day and tried to sneak a few shots of the kids in their secret hideout.
 But alas, the camera shutter gave me away and security swiftly moved into action. I was told "no pictures allowed, Mama," followed by pleas of "Don't put that picture on your blog, nobody can know where our hideout is!"





 Start with a couple lengths of 3/4" x 7 1/2" wood
  Next, screw or nail the boards together where they overlap on the outside.
 You'll need four stakes to anchor the frame into place and strengthen it .
  Placing the straight side of the stake up against the outside of the bed, use a mallet to pound the stakes in.
 You want the height of the stake to be even with the top of the bed, so be careful not to pound it in too far. Place one stake at each corner of the frame. Next, nail or screw the stakes to the boards. This will secure the bed to the ground. The frame for your raised garden bed is now done!


